You are using an out of date browser. It may not display this or other websites correctly.
You should upgrade or use an alternative browser.
You should upgrade or use an alternative browser.
Discuss My first soldering! in the UK Electrical Forum area at ElectriciansForums.net
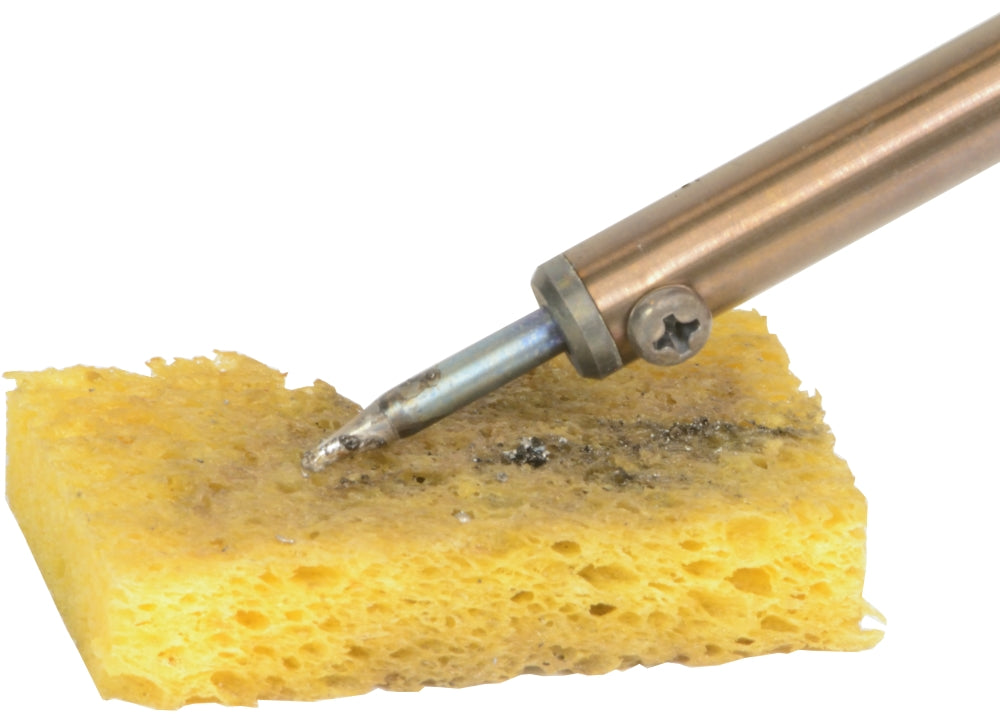
Normally you have a slightly damp sponge (not a nylon one that melts) to wipe the tip, but a slightly damp cotton cloth should do instead.
Don't leave the iron on for long period without use though, in particular with lead-free solder it ends up with a blackened tip that is poor at "wetting" the solder. You get little tubs of grey solid paste-like stuff to do that. Here is some example of it being used:

 www.kitronik.co.uk
Don't leave the iron on for long period without use though, in particular with lead-free solder it ends up with a blackened tip that is poor at "wetting" the solder. You get little tubs of grey solid paste-like stuff to do that. Here is some example of it being used:

How to clean and maintain your soldering iron - Kitronik University
Over time soldering iron tips accumulate old solder and other debris, this guide shows how best to clean the tip with a damp sponge or tip tinner / cleaner. There is an accompanying video tutorial, the tip cleaning guide is just part of wider collection of tutorials on using soldering irons.
- Reaction score
- 13,478
Yes, there should always be some solder on the tip. When you switch the iron on to begin work, add fresh solder so that the flux cleans the surface, then wipe it off. If the iron stands for more than a few minutes while it is hot, flick off any stale solder and add fresh before making a joint.
Pretty good for a first go. Making an in-line joint like that, I would aim to have less bare wire and to twist it more tightly. If the wires are nicely prepared, the actual soldering is easier and quicker, and the result neater. Once you get practice at controlling the temperature, you will find that once the wire has absorbed as much solder as it needs, you can leave a smooth coating of solder that covers any sharp ends. Your insulation is a little melted which suggests spending too long heating the joint, although how fast you can work depends on how well matched the iron tip is to the size of cable and what temperature it reaches. I would expect to have the iron in contact with the wire for about 4-5 seconds to complete that joint.
Tomorrow I'll be making many joints in cables 0.5...6.0mm², I'll take pics.
Last edited:
- Reaction score
- 7,231
Tomorrow I'll be making many joints in cables 0.5...6.0mm², I'll take pics.
Any chance of letting us know what temp you put the iron on when doing these different sizes.
- Reaction score
- 17,084
Normally you have a slightly damp sponge (not a nylon one that melts) to wipe the tip, but a slightly damp cotton cloth should do instead.
On site I've got into the habit of just wiping it on my jeans and carrying on, but that's probably not such a good idea if you wear those designer tradesmens trousers that are all the rage
Elecmox
DIY
- Reaction score
- 17
Thanks, but no thanks.On site I've got into the habit of just wiping it on my jeans and carrying on, but that's probably not such a good idea if you wear those designer tradesmens trousers that are all the rage
- Reaction score
- 17,018
Wipe it on someone else's trousers?
- Reaction score
- 13,478
OK here are some examples of straight inline joints of equal-size cables. Obviously different configurations merit different methods. For speed, all of these joints were made with a 3.5mm chisel tip at 365°C.
0.5mm² Tri-rated soldered with Alpha Vaculoy lead-free:


Next is 4.0mm² 6491B conduit cable soldered with Alpha Vaculoy lead-free and sleeved with adhesive-lined medium-wall 3:1 heatshrink


More in the next post...
[automerge]1590692245[/automerge]
Then we have 10.0mm² tri-rated, strands interlocked, bound with 29SWG tinned copper, soldered with 60/40 Crystal 511 and insulated with PVC tape. The PVC was applied with a 90% overlap and then a 50% overlap in the opposite direction. Once completed, I cut through the middle of the joint to show that it is solid copper/solder, circular in section and evenly covered with PVC equal in thickness to the original insulation.


0.5mm² Tri-rated soldered with Alpha Vaculoy lead-free:
Next is 4.0mm² 6491B conduit cable soldered with Alpha Vaculoy lead-free and sleeved with adhesive-lined medium-wall 3:1 heatshrink
More in the next post...
[automerge]1590692245[/automerge]
Then we have 10.0mm² tri-rated, strands interlocked, bound with 29SWG tinned copper, soldered with 60/40 Crystal 511 and insulated with PVC tape. The PVC was applied with a 90% overlap and then a 50% overlap in the opposite direction. Once completed, I cut through the middle of the joint to show that it is solid copper/solder, circular in section and evenly covered with PVC equal in thickness to the original insulation.
Last edited:
- Reaction score
- 13,478
Here's a practical example of an inline soldered joint in a 5-core screened cable to a readout encoder on a lathe. The cable had a fatigue break in the middle of a job, so I cut out as much of the worn section as possible and joined it back up. The inner braid screen is connected through (and sleeved, so there are two layers of insulation between it and the other conductors) but not reformed to shield the joint as there is another shield over the top. The joint was sleeved in adhesive heatshrink.
Attachments
- Reaction score
- 16,661
Practice makes perfect.
Donkeys years back, I remember we were practising at tech and one thicko was totally baffled. One lad had brought some 60 amp fuse wire from work and we stood back giggling.
Remember doing the same thing years ago when making circuits on veroboard - picking the tinned copper link wire up instead of the solder. Gets hot quick!
- Reaction score
- 13,478
I do that quite often. First, I look over at the soldering station to see whether the iron is on (which it is, and has been all day,) then I notice the time which usually turns out to be 3 AM and I take it as a signal to turn the bench off and go home. Talking of which...
- Reaction score
- 6,957
We used to have some big 400v 2 phase spot welders. They had two multi pin interconnecting sockets and plugs, army standard and murderHere's a practical example of an inline soldered joint in a 5-core screened cable to a readout encoder on a lathe. The cable had a fatigue break in the middle of a job, so I cut out as much of the worn section as possible and joined it back up. The inner braid screen is connected through (and sleeved, so there are two layers of insulation between it and the other conductors) but not reformed to shield the joint as there is another shield over the top. The joint was sleeved in adhesive heatshrink.
repairing when faulty, soldered and insulated connections on both. Fault finding and taking apart de-soldering and then re-soldering and heat shrinking each individual connection because one had failed. A days work for each, forcing back and reforming all the outer protection, too. I think one was 21 pin and the other 16, not sure.
Last edited:
Elecmox
DIY
- Reaction score
- 17
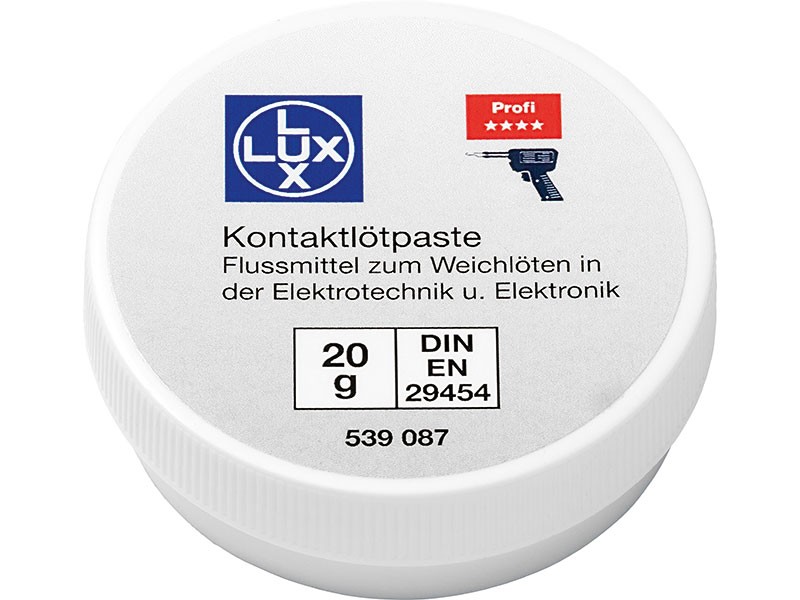
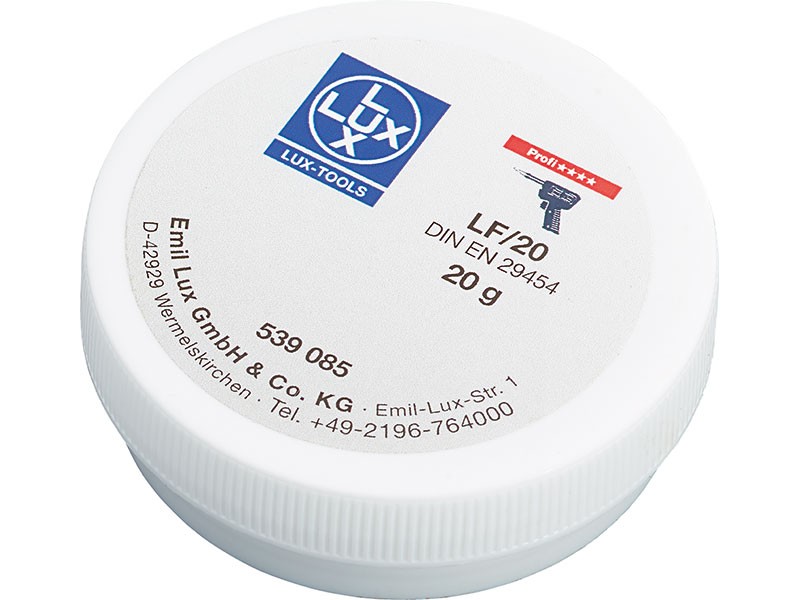
I need advice what to use for cleaning tip of solder.
In store there are two fluxes:


Which one to use?
In store there are two fluxes:


Which one to use?
Reply to My first soldering! in the UK Electrical Forum area at ElectriciansForums.net
Similar Threads
Hi all,
Been a while since I have been on here. I have been on an apprenticeship the last 3 years training in the BMS world. Taking that into...
- Replies
- 7
- Views
- 325
After my recent, first foray into LED strips, I now find myself needing to repair a pcb where a copper contact has come adrift from what appears...
- Replies
- 5
- Views
- 478
Hi all,
Hope this thread is still going.
I had to cut my stereo antenna cable, so need to reconnect with another cable.
I am unsure as the best...
- Replies
- 2
- Views
- 346
having failed my first attempt at 18th edition exam, does anyone have any tips and tricks on how to study for the exam? being that there is a...
- Replies
- 8
- Views
- 892
I’d welcome your feed back….!
As after 35years doing the job.!
Knowing about it for 10years.!
I came across my first ever experience of...
- Replies
- 1
- Views
- 279
OFFICIAL SPONSORS


These Official Forum Sponsors May Provide Discounts to Regular Forum Members - If you would like to sponsor us then CLICK HERE and post a thread with who you are, and we'll send you some stats etc
YOUR Unread Posts
-
Is it possible to put a 16mm swa on a 40a mcb protected by an rcd
- Latest: phenolic_labels
-
Electrical Forum
Welcome to the Electrical Forum at ElectriciansForums.net. The friendliest electrical
forum online. General electrical questions and answers can be found in the electrical forum.
This website was designed, optimised and is hosted by Untold Media. Operating under the name Untold Media since 2001.


